Getting started with gatsby
@luisccode
22 September, 2020
What is Gatsby?
Gatsby is a React-based framework for creating static websites and apps with 2000+ plugins to improve your website performance or functionality. It uses a powerful pre-configuration to develop fastest sites, In their own words "Gatsby sites are fast by design” this is because loads only critical parts of the page and prefetches resources for other pages, so when navigating to others pages it feels incredibly fast.
Install the Gatsby CLI
To create a new Gatsby site, you will need to install the Gatsby CLI on your computer with the following command:
npm install -g gatsby-cli
Create a new site
After installing the Gatsby CLI you can create a simple Gatsby site with the Hello World Starter by running:
gatsby new gatsby-site https://github.com/gatsbyjs/gatsby-starter-hello-world
Then to start the development server you should navigate into the gatsby-site folder and start it up with:
cd gatsby-site
gatsby develop
After that, your site will be running at http://localhost:8000, open it and, see what you get. You'll also view a second link to http://localhost:8000/___graphql which is the GraphQL Playground that allows you to interact with your data sources and plugins.
Gatsby structure
The structure of the code is very simple, at the top-level you'll see some config files(package.json, gatsby-config, gatsby-ssr, etc), the public and the src folder where you'll find all the frontend of your site, by default this will contain three more folders:
- Components: this folder will contain all your react components uses in the different pages.
- Images: the image directory contains a couple of png's images
- Pages: here you will have all your website pages for example the index, and the 404 pages.
If you take a look into the src folder you'll note that Gatsby comes with some pre-configured components like Img that comes with lazy loading and Link that internally uses Reach router.
// src/pages/index.js
import React from "react"
import { Link } from "gatsby"

import Layout from "../components/layout"
import Image from "../components/image"
import SEO from "../components/seo"

const IndexPage = () => (
  <Layout>
    <SEO title="Home" />
    <h1>Hi people</h1>
    <p>Welcome to your new Gatsby site.</p>
    <p>Now go build something great.</p>
    <div style={{ maxWidth: `300px`, marginBottom: `1.45rem` }}>
      <Image />
    </div>
    <Link to="/page-2/">Go to page 2</Link> <br />
    <Link to="/using-typescript/">Go to "Using TypeScript"</Link>
  </Layout>
)

export default IndexPage
// src/components/image.js
import React from "react"
import { useStaticQuery, graphql } from "gatsby"
import Img from "gatsby-image"

const Image = () => {
  const data = useStaticQuery(graphql`
    query {
      placeholderImage: file(relativePath: { eq: "gatsby-astronaut.png" }) {
        childImageSharp {
          fluid(maxWidth: 300) {
            ...GatsbyImageSharpFluid
          }
        }
      }
    }
  `)

  if (!data?.placeholderImage?.childImageSharp?.fluid) {
    return <div>Picture not found</div>
  }

  return <Img fluid={data.placeholderImage.childImageSharp.fluid} />
}

export default Image
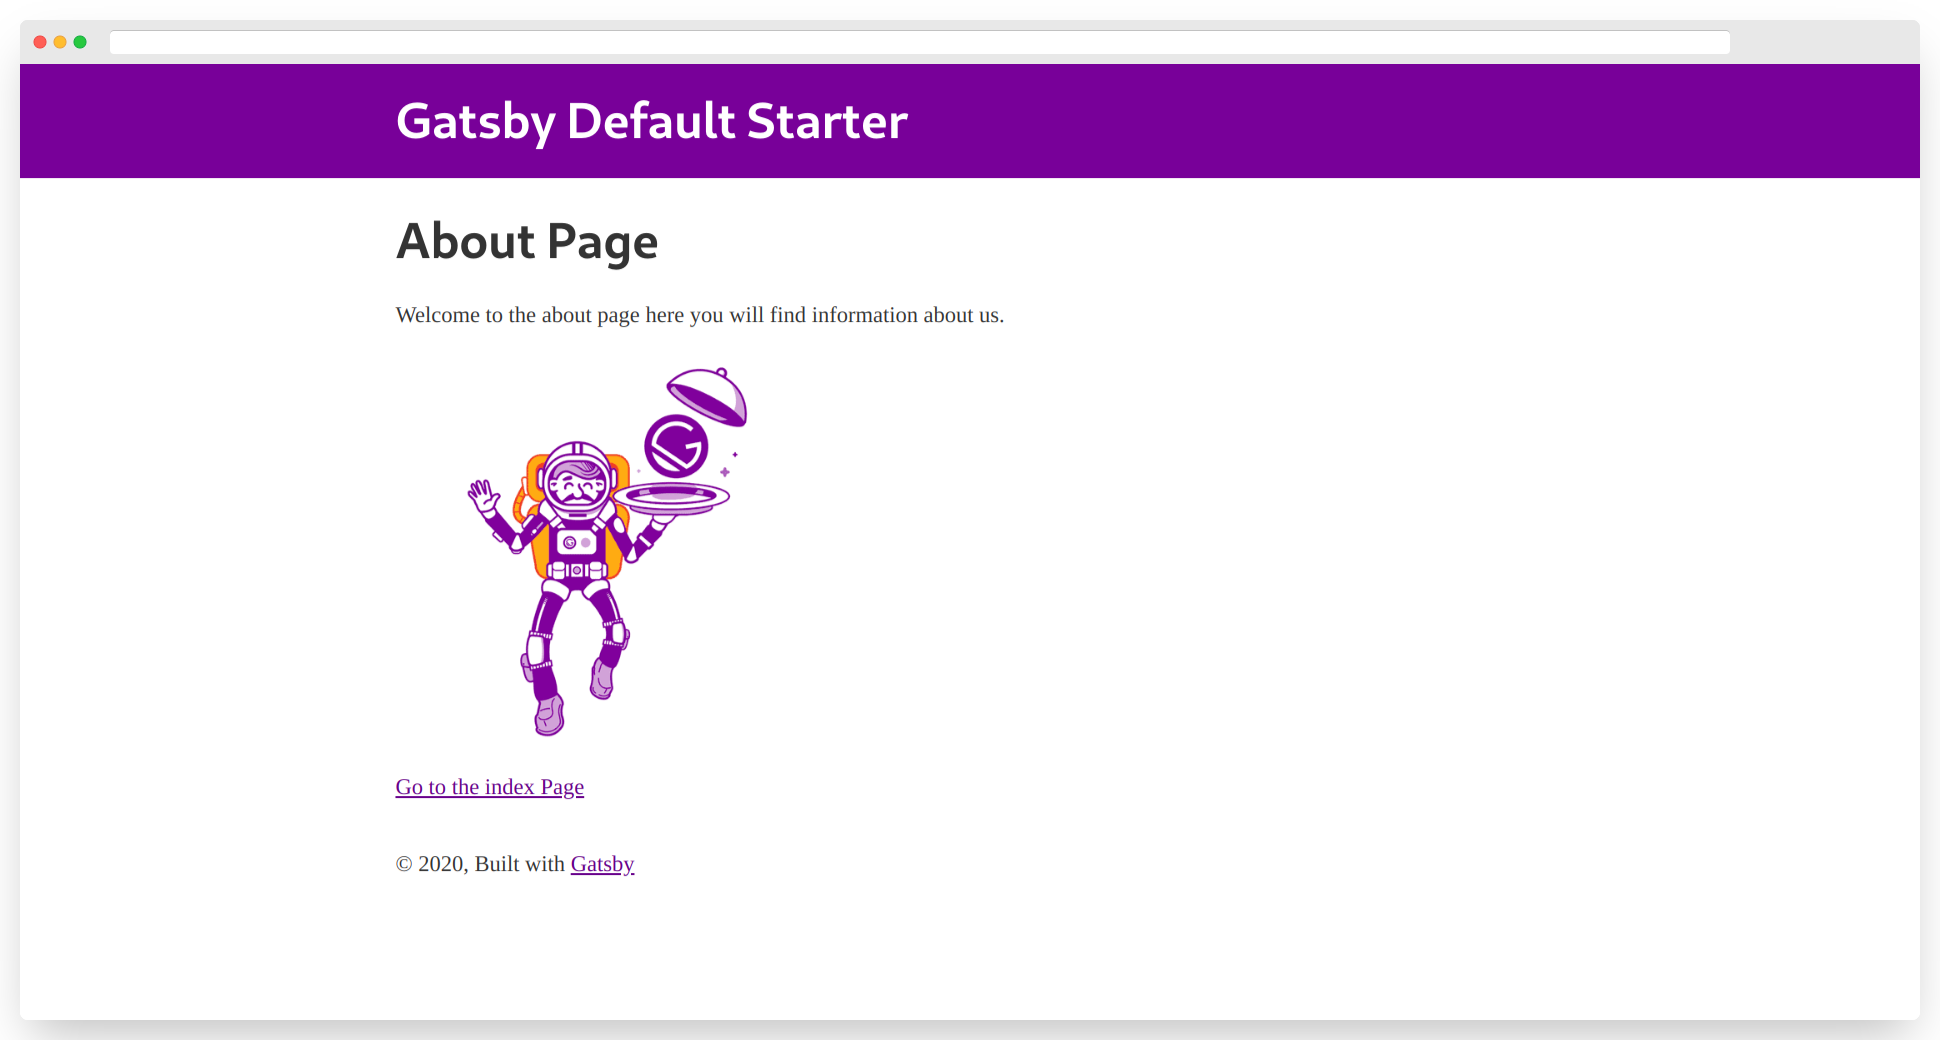
Create a page
If you want to create another page all you need to do is create another file in the pages folder with the name of your new page for example about.js, add your components, and then it will automatically enable the route to localhost:8000/about
// src/pages/about.js
import React from "react"
import { Link } from "gatsby"

import Layout from "../components/layout"
import Image from "../components/image"
import SEO from "../components/seo"

const AboutPage = () => (
  <Layout>
    <SEO title="About Page" />
    <h1>About Page</h1>
    <p>Welcome to the about page here you will find information about us.</p>
    <div style={{ maxWidth: `300px`, marginBottom: `1.45rem` }}>
      <Image />
    </div>
    <Link to="/">Go to the index Page</Link> <br />
  </Layout>
)

export default AboutPage
Deploy
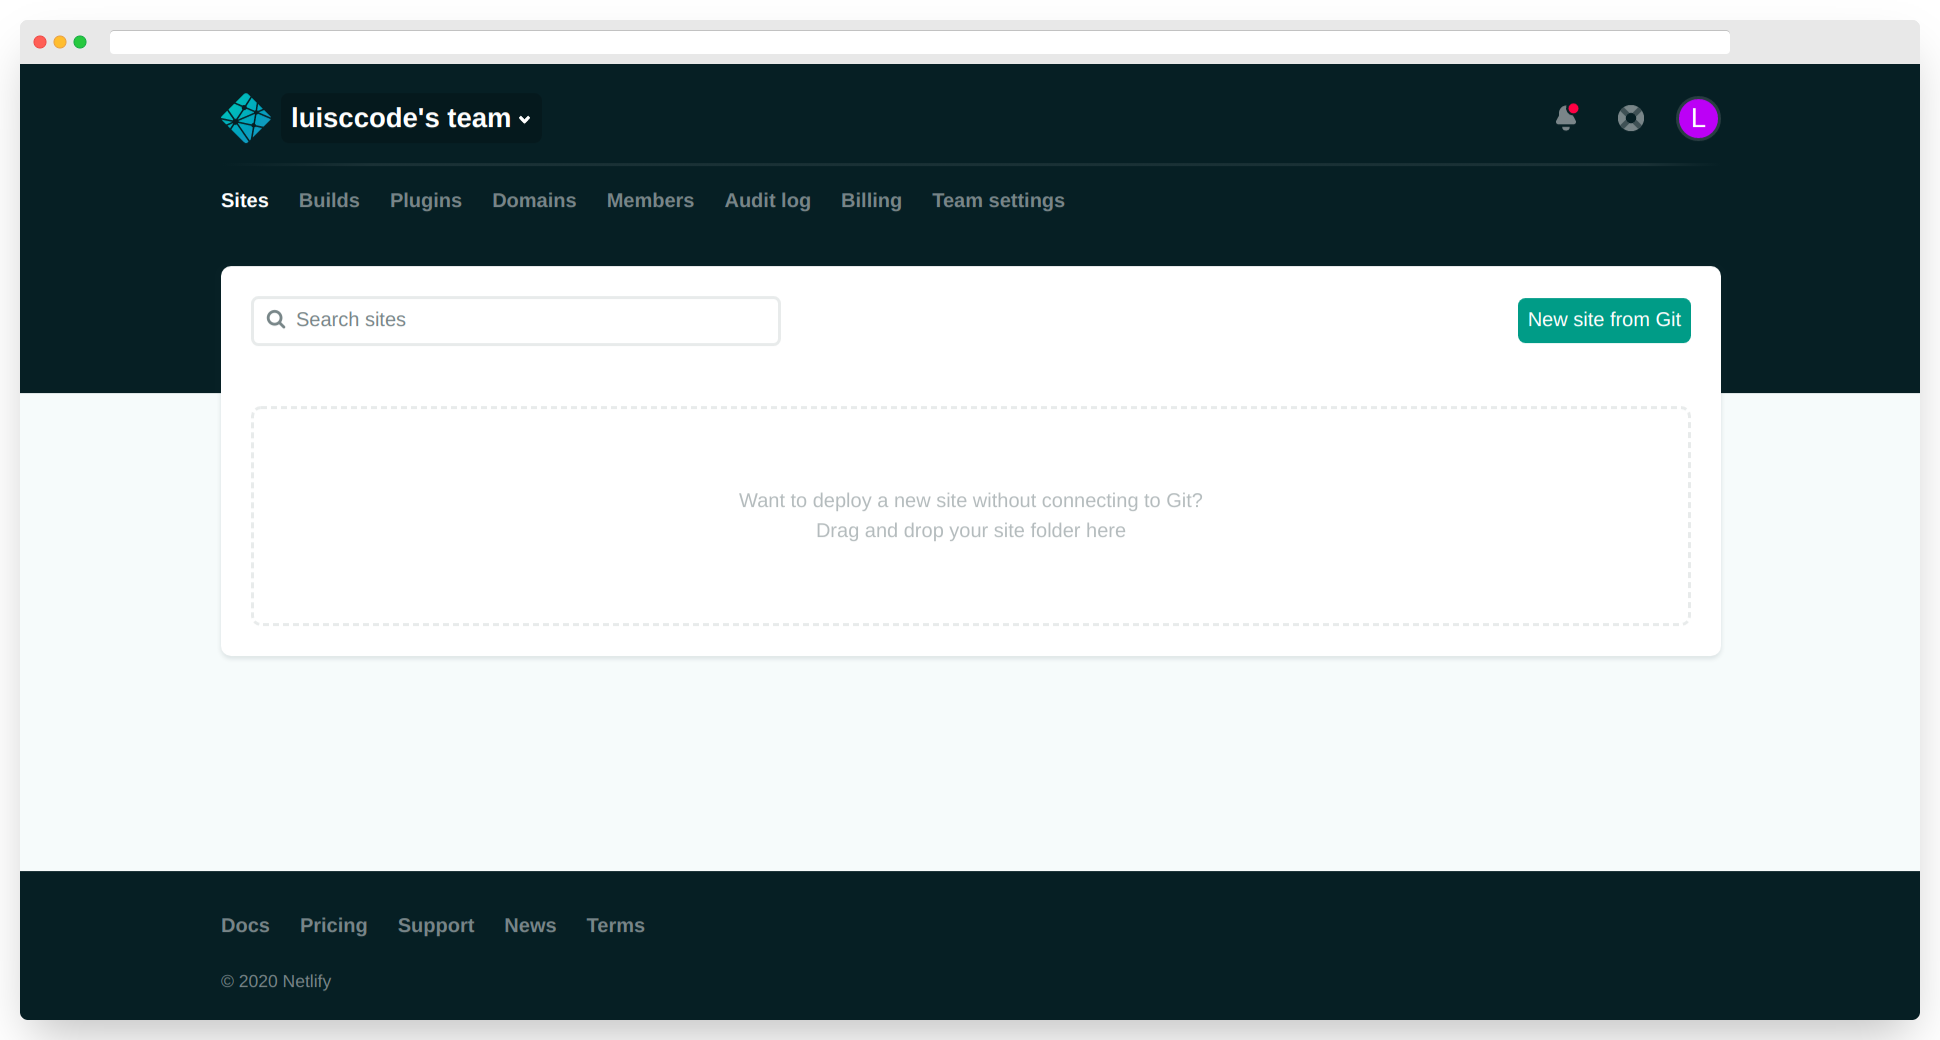
Once you have finish your website you can deploy it to different platforms like Netlify, Vercel, Digital Ocean, Github Pages, Gatsby Cloud, etc. In my opinion, the easiest way to deploy your website is using Netlify, for that, you have two options:
Option 1: Build your website with the follow command and drag and drop the public folder to Netlify.
gatsby build
Option 2: Create a new Github repository, push your code, click on the "New site from Git" Netlify button, and follow the steps.
For more information, you can check out the Gatsby Documentation where you find step-by-step tutorials, reference guides, templates, Cheat Sheet, plugins to improve your website, and more.